The excitement of a new kitchen often overshadows the reality of getting there. You have selected the perfect custom cabinets, chosen stunning quartz countertops, and finalized the design. The construction crew will be arriving soon. However, before the first hammer swings, you need to clear out your current space.
Proper preparation determines the success of a smooth renovation. Many homeowners severely underestimate the time required to pack up their belongings and plan for the weeks ahead. Rushing this process leads to unnecessary stress and misplaced items.
At Home Renovation Pros in Rhode Island, we want your entire remodeling experience to be as seamless as possible. We guide our clients through every step of the renovation process. By following a structured timeline, you can easily transition from your old layout to your dream space without the last-minute panic.
Why a Prep Timeline Matters
Packing up your kitchen isn’t just about boxing items. It requires a clear strategy. Establishing a timeline ahead of your remodel helps prevent last-minute chaos, protects your belongings from dust and damage, and keeps your project running smoothly from day one. It also ensures your contractors can begin work immediately without delays.
If you’re unsure how your prep timeline fits into the overall renovation schedule, it’s helpful to understand how long a kitchen remodel typically takes in Rhode Island and what factors can impact that timeline.
With the right plan in place, you’ll not only stay organized but also be able to function more comfortably without a full kitchen during the renovation.
3 to 4 Weeks Before: Plan and Declutter

Start the process about a month before the demolition date. This gives you plenty of time to organize without feeling overwhelmed.
First, take a complete inventory of everything in your kitchen. Pull items out of the deep cabinets and sort them. Toss expired food, donate appliances you no longer use, and store away things you want to keep but rarely need.
Next, plan your temporary kitchen. Find a spot in your dining room, basement, or garage where you can set up a makeshift cooking station.
You also need to gather high-quality packing supplies. Collect sturdy boxes, plastic bins, bubble wrap, packing paper, and plenty of markers for labeling. Finally, begin using up the food stored in your pantry and freezer so you have less to move later.
2 Weeks Before: Start Packing Non-Essentials
Now is the time to start putting things in boxes. Focus entirely on non-essential items that you will not need for the next month or two.
Pack away your extra small appliances, like that stand mixer or waffle iron. Wrap up your specialty cookware, holiday dishes, and any seasonal items taking up space.
Label every box clearly by category and room location. Before you pack your current cabinets, take a few photos of your organization system. If you like how your spices or utensils are currently arranged, these pictures will make unpacking in your new kitchen much easier.
1 Week Before: Pack Daily Use Items Strategically

With only one week left, you need to narrow your kitchen inventory down to the absolute essentials.
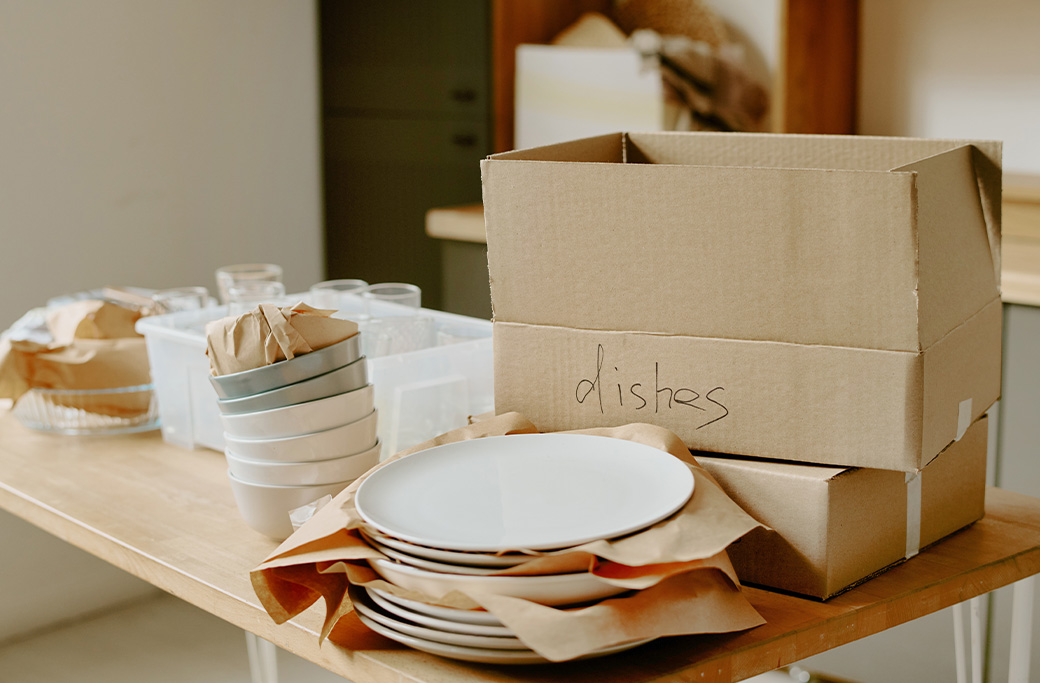
Pack up your extra everyday dishes, utensils, and regular cookware. Leave out only what you need to survive the next week and the duration of the remodel.
Create a specific “survival kit” box for your temporary kitchen. This should include paper plates, disposable utensils, paper towels, and trash bags. Set up your coffee maker, toaster oven, and microwave in your designated temporary kitchen space so you can easily heat up meals.
2 to 3 Days Before: Final Prep
The construction crew is almost ready to start. You need to clear out the remaining items entirely.
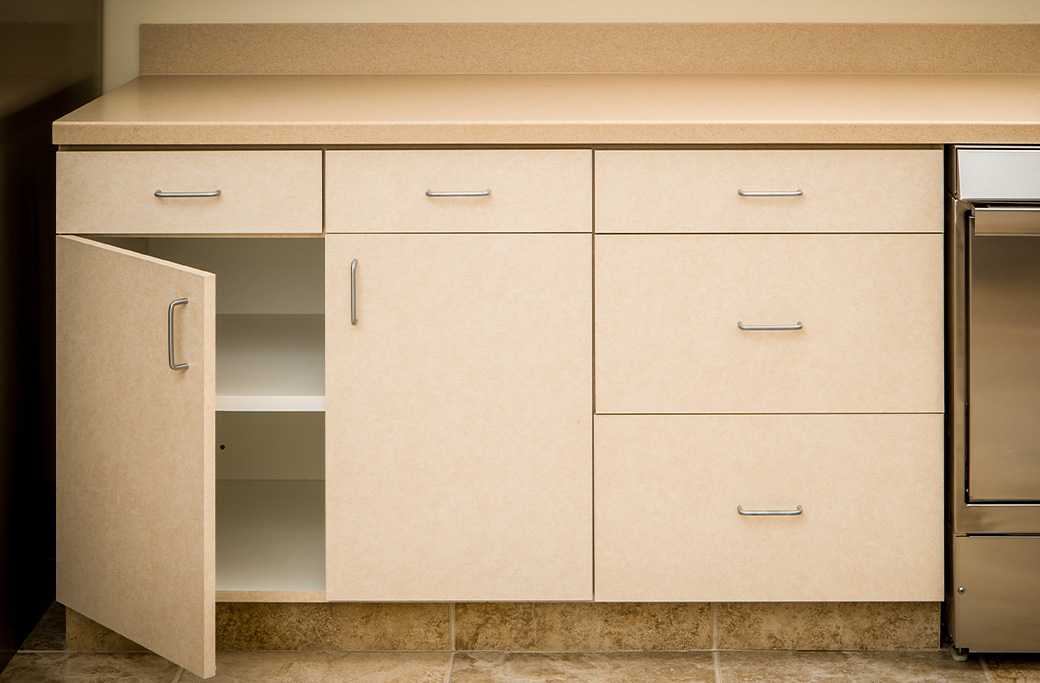
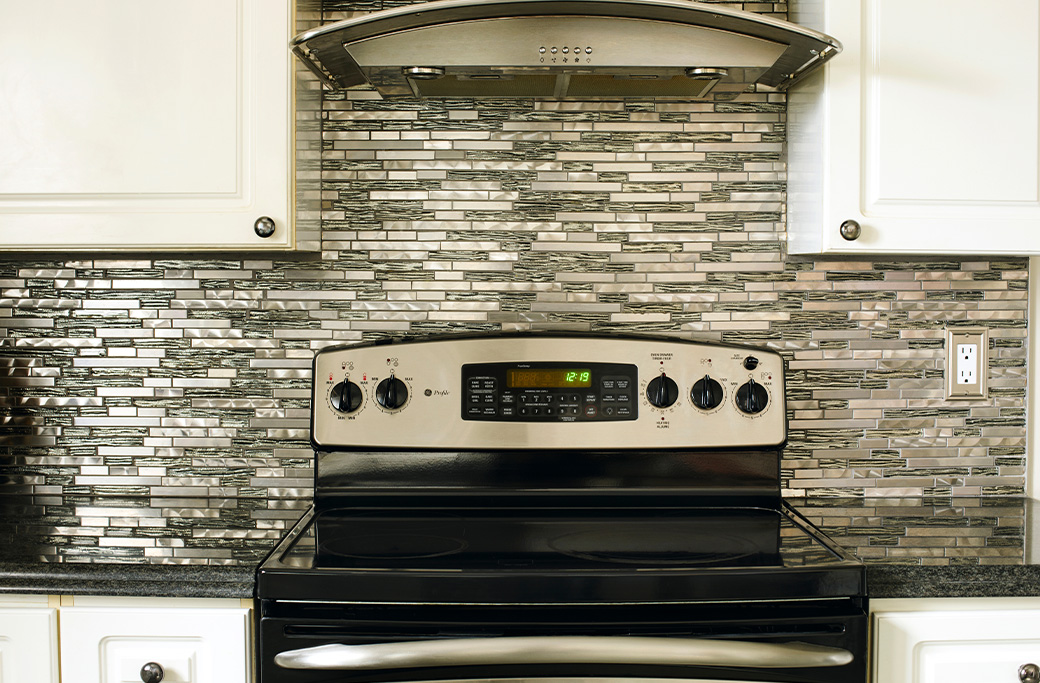
Empty all of your cabinets and drawers. Clear your countertops completely, leaving absolutely nothing behind. If your project requires it, disconnect and clean your large appliances.
This is also the perfect time to confirm the final project start details with the team at Home Renovation Pros. We always ensure our clients know exactly what time we will arrive and what the first day of work will look like.
Day Before Demo: Be Ready
Do a final walkthrough of the kitchen. Double-check that every single cabinet, drawer, and closet is completely empty.
Protect the nearby areas of your home. The construction team will typically set up plastic barriers and dust prep materials, but you should also remove any delicate artwork or rugs from the adjacent hallways. Make sure there is a clear, unobstructed path from the exterior door to the kitchen so the contractors can work efficiently.
Smart Packing and Storage Tips
Using clear plastic bins for your most important items allows you to see the contents without opening every lid. Label absolutely everything with both the room destination and a brief list of the contents.
Keep your daily essentials and valuables highly accessible. Store fragile items, like wine glasses and delicate china, safely away from the active construction zones. If your Rhode Island home is tight on space, consider renting a small off-site storage unit or a portable storage pod for the duration of the project.
Living Without a Kitchen: Survival Tips
Navigating a few weeks without a full kitchen requires creativity. Meal prep ahead of time by freezing dinners that you can easily heat in the microwave.
Rely heavily on your small appliances. Slow cookers, air fryers, and outdoor grills are fantastic for making hot meals without a stovetop. Plan for simple meals like sandwiches and salads, and budget for a few extra takeout nights. Above all, set realistic expectations for your daily routines and try to embrace the temporary adventure.
Why Choose Home Renovation Pros
Based right here in Rhode Island, Home Renovation Pros transforms houses into dream homes with precision and care. We guide homeowners through every single step, including the messy preparation phase. We pride ourselves on providing clear timelines, transparent communication, and a completely stress-free remodeling experience. Our local expertise and commitment to quality craftsmanship ensure your new kitchen will exceed your expectations.
Kitchen Remodel Prep Timeline: How to Pack and Prepare Your Kitchen
Thorough preparation leads directly to a smoother remodel. By planning early and packing strategically, you protect your belongings and pave the way for a beautiful new space.
Planning a kitchen remodel? Contact Home Renovation Pros today and let us help you prepare for a seamless renovation from start to finish.